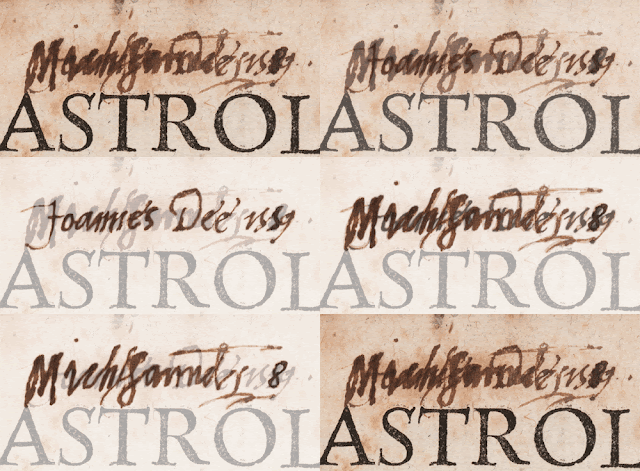
It’s possible to disentangle the two different signatures if you examine them very closely. As part of the exhibition research I edited an image of them in order to show Dee’s original signature and then Saunders’ over the top.
 |
| Astrologiae iudiciariae ysagogica. Jean Taisnier, published Cologne, 1559 |
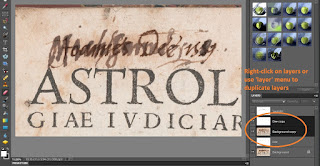
I started with a high-quality close-up photograph of the signatures, and I edited it using Photoshop Elements. Other photo-editing programmes (such as are available, such as the free GNU Image Manipulation Programme) and would work just as well. The functions will probably look a bit different, though
As in the editing process I described earlier, you need to use layers to create gifs. Layers are like old-fashioned sheets of acetate that you can pile up on top of each other. You can edit what’s on each layer individually, and can set the transparency (and other attributes) of each layer.
You need to make one layer for each individual frame of the animation.
For this animation, the frames followed this progression:
- Original image alone
- fading in the layer which highlights Dee’s signature (ie by decreasing that layer’s transparency step by step)
- fading in the layer which highlights Saunder’s signature
- fading out the layer which highlights Dee’s signature
- fading out the layer which highlights Saunder’s signature
- original image alone.
- set the transparency(/ies) of the overlay layer(s)
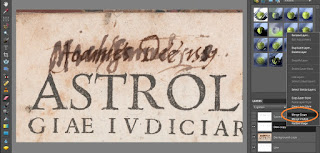
- duplicated the overlay layer(s) and background layer (you need to keep the originals to continue working with them)
- used ‘Merge down’ to stick the overlay layer onto the background layer – to make the one single layer needed to run the animation
- re-named this new layer to say which transparency value(s) were used.
The transparency value were more-or-less as follows:
- No overlay
- Dee on its own: 10%, 20%, 30%, 40%, 50%
- Dee at 50% with Saunder at: 10%, 20%, 30%, 40%, 50%
- Saunder at 50% with Dee at: 40%, 30%, 20%, 10%, 0%
- Saunder on its own: 40%, 30%, 20%, 10%.
Then I duplicated the first and frames a few times so that they would show for longer.
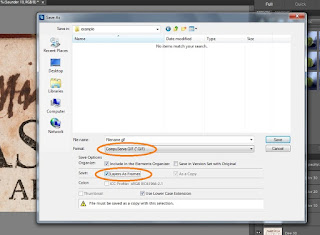
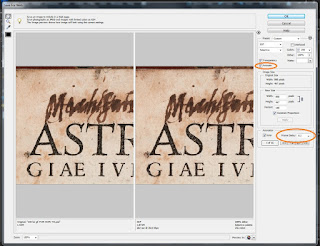
So save as a gif us the File>Save As option, and choose ‘gif’ (‘CompuServe gif’) as the file type. Tick the ‘Layers as Frames’ box. In the next dialogue box, tick ‘animate’ and then choose the frame rate. Remember to save the Photoshop file, too, in case you want to change things later!
And that was it, more or less.
I used more-or-less similar processes to make the other exhibition gifs. Some were much more straightforward: I just took lots of slightly different photos of a book with the camera mounted on a tripod, in the fashion of traditional stop-motion animation. It’s then just a case of layering up those images, by cutting and pasting them into a Photoshop file.

0 comments:
Post a Comment